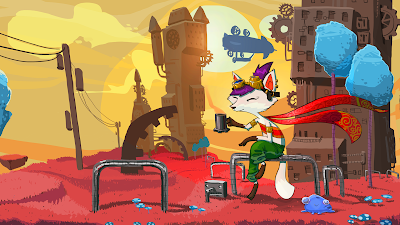
Unity Tutorial 06
Unity Tutorial 06
 |
| Ruby's Adventure |
For this week's Unity tutorial I was to work through the next stages of the lesson. These two lessons were called, 1. Visual Styling - Using Interface Head - Up - Display, and 2. World Interactions Dialog Raycast. Unfortunately, as I have fallen behind on these unity tutorial I have not been able to complete these tasks inside of unity. As I could not progress in the game I decided to use my initiative and read through the lessons as if I were doing them in the unity software. I am a little bit disappointed that I could not keep up with the lessons as I would have loved to be able to complete them successfully each week.
I decided to read through the individual steps inside the tutorials and take notes. I gathered all the information I deemed important inside the lessons and highlighted all the key concepts I was to learn.
The first part of the lesson is based around Visual Styling and Heads up Display. I learned how to add a UI to the project in order to show the health of the main character. I familiarized myself with how and why this is completed.
The following part of the lesson was named, World Interactions Dialog. It involved adding a new character to my scene and allowing Ruby to talk to it. A key concept involved is Raycasting. After adding a new character to the scene we then need to add code to our new game character. Raycasting is casting a ray in the scene and seeing if that ray interacts with a collider. A ray consists of a starting point, a direction and a length. It is important to understand this term and it can be used in many beneficial ways.


Comments
Post a Comment